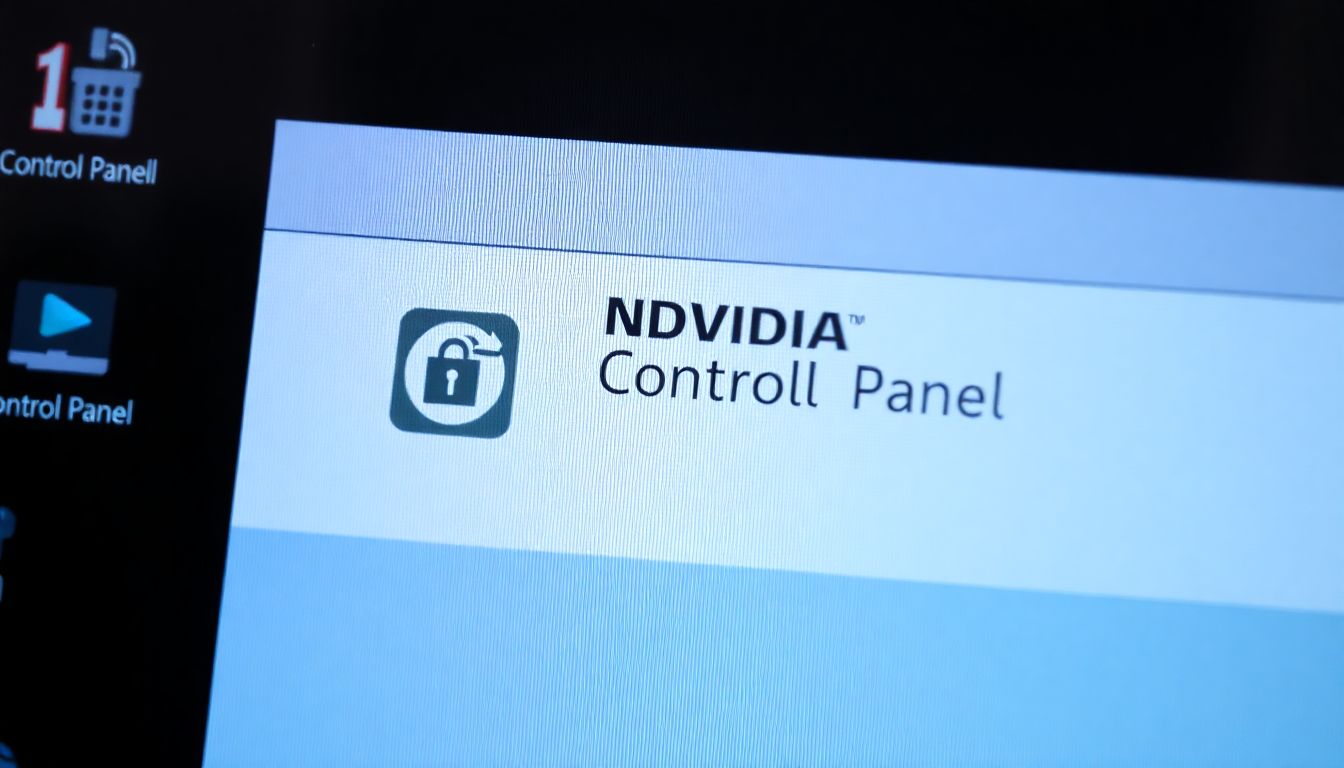
Isn’t it frustrating when the NVIDIA Control Panel refuses to launch? Is your fixed graphics settings stuck? You’re not the only one! The NVIDIA Control Panel is much more than an application designed with gamers in mind; it’s an indispensable tool for showing what all your components can do, tweaking your system for optimal performance.
The NVIDIA Control Panel enables you to set up display settings very easily. It also comes in handy for making 3D settings. The control panel helps users optimize the gaming performance. Many users are found frustrated when it doesn’t open, but don’t worry! Solutions would be provided in this guide.
Identifying the Roots of the Issue
What do you think is preventing your NVIDIA Control Panel from opening? Let’s find out. Figure out the cause so that you can get the fix quicker. This segment will pinpoint the problem.
The Most Common Reasons for Not Opening NVIDIA Control Panel
Numerous reasons can be blamed for the fact that the NVIDIA Control Panel does not open. Driver issues are among the most common ones. The conflicting application could be a reason as well. Corrupted files may also cause the same. Sometimes services are in a disabled mode, which doesn’t allow it to open. The other probable reason is incorrect settings.
Outdated or corrupted drivers
Software conflicts with other applications
Damaged NVIDIA Control Panel files
Essential NVIDIA services are disabled
Wrong configurations in settings
Basic Error Checking Ways
So, before long, trying these simple things will help. Restart your machine. In the system tray, check for the icon. Run as admin. Such small things can really solve some big problems.
Restart your PC. Look for the NVIDIA icon in the system tray (lower right corner). Right-click the icon and select “NVIDIA Control Panel.” If it still doesn’t open, right-click the icon again. Choose “Run as administrator.” Checking the Body for Any Recent Changes
Think about anything new on your system recently. Did you install any applications? Windows updates? Were the drivers updated? All of these may be the cause. Identify those changes. Try to remember when the problem started. This narrows down the solution.
Driver Issue and the Solutions
Drivers are a major factor here. Mostly faulty drivers are the cause: this section is all about solving the driver issues. Here, let’s get drivers sorted out.
Uninstall and Reinstall NVIDIA Drivers: Step by Step Guide
Most problems can typically be fixed through a clean installation of drivers. Use Display Driver Uninstaller (DDU). It removes every trace of old drivers, making it possible to install the latest drivers from the NVIDIA website. Let’s get to know the steps to bring the software to a fresh start.
Download Display Driver Uninstaller (DDU) from a trusted source. Boot your computer into Safe Mode. To do this, restart your computer and keep on pressing F8 (or Shift + F8) while starting it up. Run DDU, and select “NVIDIA” as the manufacturer. Click on “Clean and Restart.” Upon restart, download the latest NVIDIA drivers on the NVIDIA website. Install the drivers as per the instructions given on the screen.
Rolling Back to Previous Driver Version
The latest driver isn’t always the greatest. Older drivers may work better. Downgrading typically alleviates a lot of problems. Look for and download an older version. Test it to determine if it opens the NVIDIA Control Panel.
Determine which prior driver version worked for you.
Browse the NVIDIA Driver Archive.
Find and download the older driver.
Uninstall your current driver with the help of DDU. See the above section for guided steps.
Install the older driver.
Once installed, restart your computer.
Updating Drivers Using GeForce Experience (If Applicable)
GeForce Experience makes updating your drivers without any hassling. If you have that, you should use it! Download your latest drivers from here, optimize your game settings, and update it through GeForce Experience. This can also fix it.
Open GeForce Experience.
Click on the “Drivers” tab at the top of the software interface.
If it is available, click on the “Download Update.”
Once downloaded, press “Install Express.”
Follow the wizard.
Cleaning and Processes Testing
NVIDIA services should function. If not, it will refuse to operate within the Control Panel system. So let’s check these services. All are opening properly.
Check if NVIDIA Services are Running
The services window gives the status of NVIDIA services. Access services window. Look for NVIDIA services. Check if they are running. All the necessary services must be active.
Press the Windows key + R.
Type “services.msc” and press Enter.
Scroll down and find NVIDIA services. Examples: NVIDIA Display Container LS, NVIDIA LocalSystem Container.
Check their status, which should say “Running.”
If not, continue to the next section.
Manually Restarting NVIDIA Services
If those services aren’t running, then restart them. Right-click each service and select restart. That’s enough to have the control panel back on.
In the Services window (from the above section), find the NVIDIA services that are not running.
Right-click each service.
Select Restart.
If the Restart option is greyed out, select Properties.
Under the General tab, change the Startup type to Automatic.
Click Apply, then OK.
Right-click the service again and select Start.
Troubleshooting Conflicting Processes
Other programs sometimes interfere. Spot such conflict using the Task Manager and shut them off temporarily. Can you open the NVIDIA Control Panel now? If you can, you have caught the culprit.
Press Ctrl + Shift + Esc to open Task Manager.
Go to the Processes tab.
Look for any programs that might be conflicting with NVIDIA. Especially graphics-related or system optimization programs.
Select the process.
Click ‘End Task.’
Try to open the NVIDIA Control Panel once again.
Incompatibility and Software Conflicts
Most of the time, a software clash may result in preventing the startup of the NVIDIA Control Panel. Review compatibility issues because this is important. Conflict resolution can restore operation and functionality.
Test for Conflicting Software
Some antivirus software can also cause such problems. Other than system optimizers, they might also cause some issue. Look for any graphics related apps that could be interfering with the NVIDIA Control Panel. If you have any, disable them temporarily to test.
Clean Booting to Trace Conflicts
A clean boot will help identify conflicts because most startup programs, services and scheduled tasks will be disabled. Using this method, the user determines whether a third party application has a bearing on the operation of the NVIDIA Control Panel.
Press the Windows key + R.
Type in “msconfig” and hit Enter.
Go to Services tab.
Check Hide all Microsoft services.
Click Disable all.
Go to Startup tab.
Click Open Task Manager.
Disable all startup items.
Close Task Manager.
In System Configuration, click Apply and OK.
Reboot computer.
Check if the NVIDIA Control Panel now opens after restarting.
Changing Compatibility Settings
Sometimes, compatibility settings help. You can modify the executable file of NVIDIA Control Panel. Run the program in compatibility mode for an older version of Windows, as this can override certain conflicts.
Locate the .exe file for the NVIDIA Control Panel. The normal path is “C:\Program Files\NVIDIA Corporation\Control Panel Client\nvcplui.exe”.
Right-click on “nvcplui.exe”.
Click on “Properties”.
Open the “Compatibility” tab.
Enable “Run this program in compatibility mode for:”
Select older Windows version (e.g. Windows 7).
Click “Apply” and “OK”.
Try to open NVIDIA Control Panel again.
Advanced Troubleshooting Methods
Still no luck? Let’s try some advanced ways to rectify deeper issues. Follow these steps religiously.
Checking Integrity of System Files
The System File Checker (SFC) checks for the corrupted system files and repairs them if it finds any. The corrupted files might affect NVIDIA Control Panel’s functioning, thus it is better to run SFC to check the integrity of the system.
Open Command Prompt as an administrator. To do this, search for “cmd” in the Start menu.
Right-click on “Command Prompt” and select “Run as administrator”.
Then, type in “sfc /scannow” and hit Enter.
Wait for the scan to complete-it can take some time.
Restart your PC if SFC finds and repairs some files.
Creating a New User Account
A corrupted user profile may cause such problems. Create a new user account and test with the NVIDIA Control Panel again. If it works with the new account, then the old profile has the problem.
Settings > Accounts > Family & other users.
Click on “Add someone else to this PC”.
Click through the instructions until you have created a new user account.
Log onto the new user account.
Check whether the NVIDIA Control Panel can open or not.
System Restore restores your computer to its previous state. Opt for a restore point established before the issue arose. Back up your data first. System Restore may modify installed programs.
Search in the Start menu for Create a restore point and open it. Then click on System Restore. On the next window, click Next. Select a restore point that came before the problem occurred.
Click on Scan for affected programs to learn what programs will be affected. Click Next and Finish. Follow the onscreen instructions.
The computer will restart and revert to the selected restore point.
Everything with fixing the NVIDIA Control Panel has been covered. Drivers must be kept up to date. These software conflicts should be fixed. The NVIDIA Control Panel optimizes graphics performance within its very useful program. Don’t lose hope; one of these ways will fix it. Your experience on a gaming level is bound to improve.